
In this tutorial you will learn how to create an Excel Macro Button. This is a follow up from creating a a macro tutorial.
If you want to learn how to record a macro and have Excel write the code for you, click here.
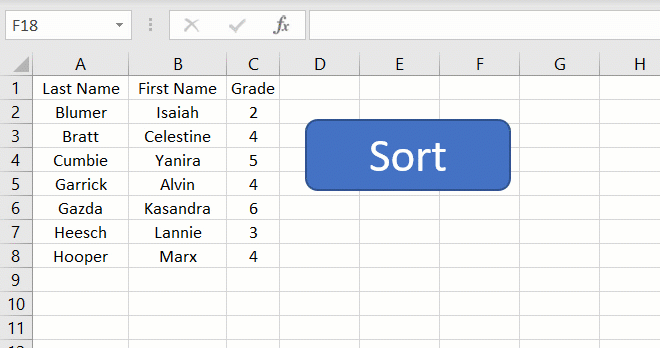
In the previous Case Study, we created a macro that sorts a list of names alphabetically. In order to start this macro, you can add a Macro Button.
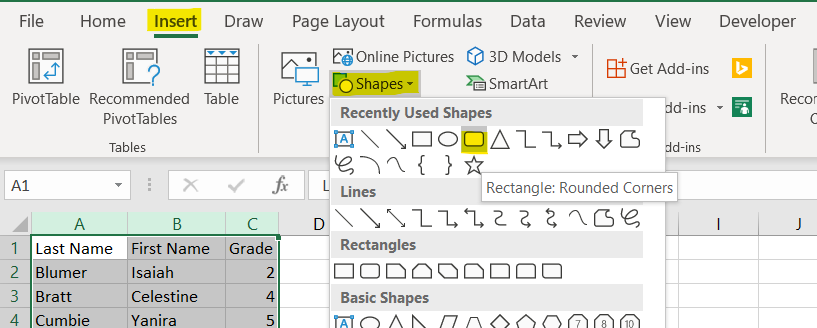
A button is just a shape. To start creating a button, start by creating a shape. Go to Insert – Shapes and choose a shape. As an example, choose a rounded corners rectangle.
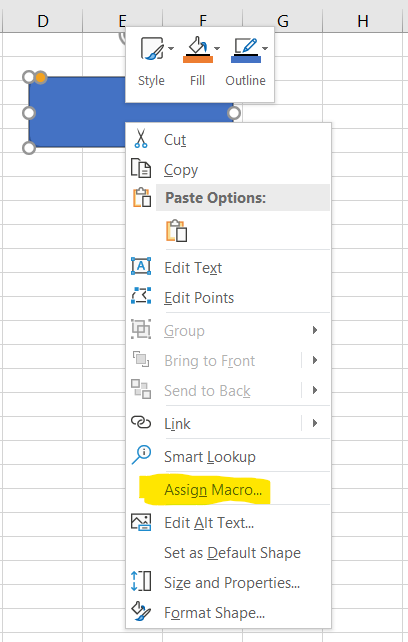
Right click on the shape you created and click on “Assign Macro”
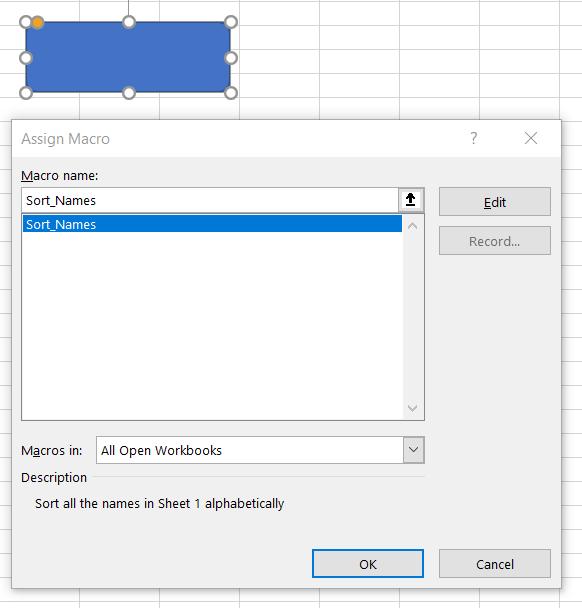
Select the macro from the macro list and click OK.
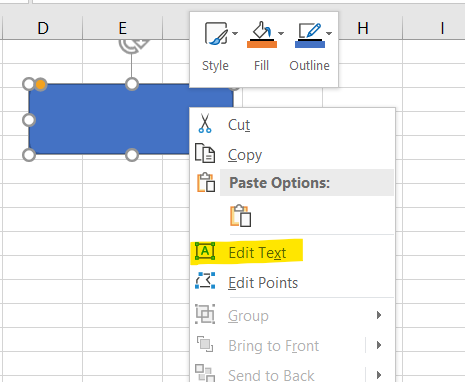
Right click on the shape again and click Edit Text to create a text for the newly created button.
And here is how your button works
Another way to start a macro is to add it to add it to a worksheet function. For example, this macro can be set to start when a line is added. The list will be sorted automatically as soon as you type a new name