
Excel macros sound scary but they don’t have to be. You don’t have to be a programmer to start with Excel macros. If you are not a programmer or don’t even intend to be, this short and simple Excel macro tutorial is for you.
You’ll learn:
- how to get Excel to write some code for you
- how to review the written code
- how to launch a macro with a keyboard shortcut or a button
- how to launch a macro automatically when you need it (when the data changes)
What are Excel macros
Macros are programs that you can use to automate repetitive tasks. For example, let’s say that for every new line of data added, you want to:
- break down the data in columns,
- format the data in a certain way
- and sort all data including the new data row.
You would typically have to perform these 3 operations individually every time you add a new line in your worksheet.
However, if you record a macro and assign it to a button, you can push the button and perform the 3 operations in one sequence.
Why can’t I record all the macros? Do I need to learn VBA?
While a lot of the simple operations are easy to record using the method described below, some more complex actions need a bit of coding. For example, you can record the operation of adding a character at the end of every text in each cell, but you need to write some code if you want to do that for all the cells in the worksheet. The code would have to:
- determine the current cell
- move to first cell
- perform the recorded action
- move to next cell until the end of the worksheet.
Learn more about what is VBA
Excel macro tutorial
Case Study for creating an Excel macro using the recording method
For this Excel macro tutorial we’ll use the following dataset. A school principal has an Excel list with all the students in the school. Every now and then, a new student joins the school and the principal wants to keep the list organized in alphabetical order by last name and then by first name. He usually finds the line where to insert the student’s name but he would prefer to write the student’s name at the end of the list and a program to sort the names automatically and put the names in alphabetical order.
The macro we need
The macros we will record will do the following
- sort students data including the new row added at the end of the data set
The trigger for this macro will be manual (keyboard shortcut or button) or automatic (when a new line is added)
The case study excel sample data
The list of students looks like this.

Sorting the sample data
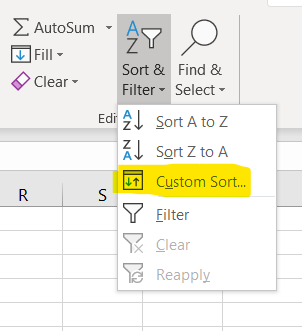
In order to sort this list, we would have to select all 3 columns, go to the Editing Section on the Home Tab and click on Custom Sort
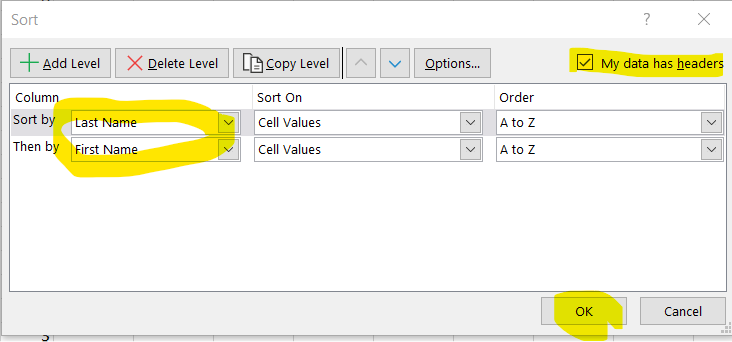
Mark that the data has headers, sort by Last Name and add a second level First Name then click OK.
How to create a macro
In order to automate this sorting, we need to write a program that does exactly when we did. Excel has a method to record our actions and turn them into a program.
Step 1: Starting to record a macro
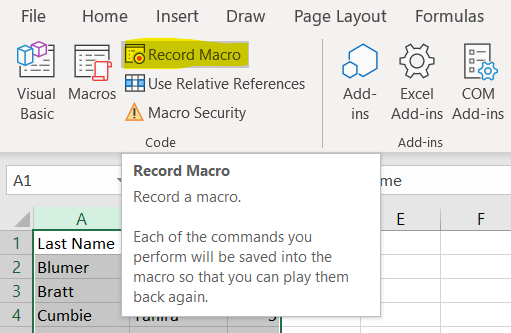
Go to the Developer tab. (if you don’t have it, go to the VBA intro tutorial and learn how to enable the Developer Tab). In the Developer Tab, click on the Record Macro button. If you just hover over the button for a second, you’ll see a quick explanation of what the button does. The Macro recording button is recording all your actions until you stop the recording and turns them into VBA code.
Step 2: Naming the macro
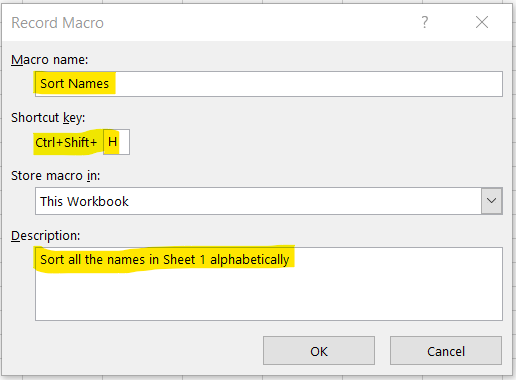
Give your Macro a name, setup a keyboard shortcut that will launch it, write a short description and click OK to start recording.
Step 3: Recording macro actions
Now do all the actions you would manually do in order to sort the list after last name and first name
- select columns A to C
- go to the Home Tab – Editing – Sort
- add the two levels for sorting
- click OK
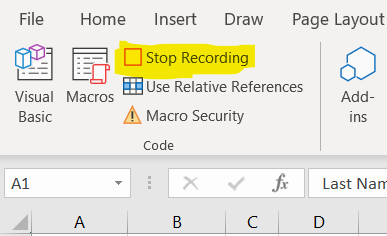
Step 4: Stopping the macro recording
These are all the actions we did above to do an initial sort of the list. Once Done, click on the “Stop Recording” button. This button replaced the “Start Recording” button while you are in recording mode.
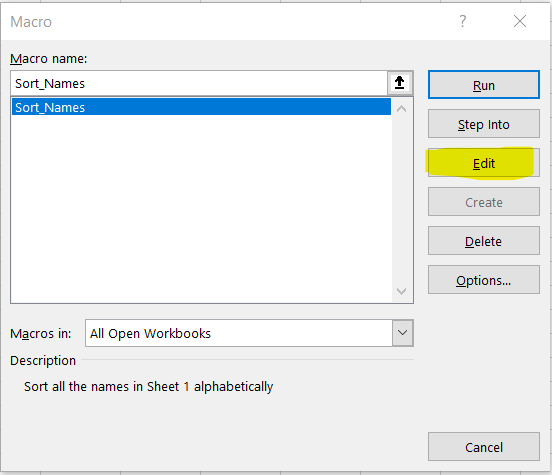
Step 4: Editing the Excel macro
Click on Macros, next to the stop recording button and see the macro you just created. Select the macro from the list and click Edit to see the code.
And there it is. This is the code that Excel wrote in VBA in order to perform all the actions you recorded.
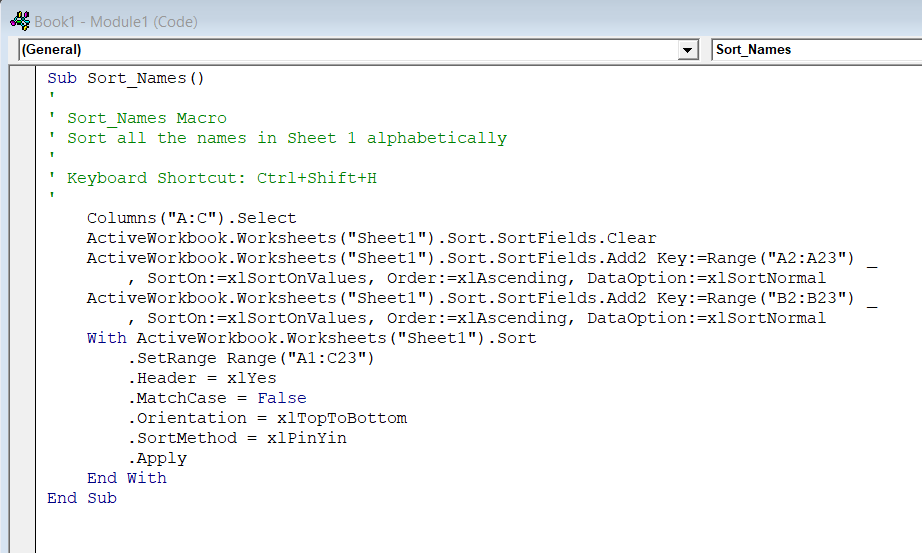
Step 5: Launching an Excel macro
All you have to do now is to launch the macro. There are 3 ways to launch a macro.
- Use the keyboard shortcut you defined for your macro (Ctrl+Shift+H in our example above)
- Add a button on the worksheet and assign a macro to it
- Run it automatically when a new name is added.
For the second and third method of launching a macro, follow the link to see a detailed Excel macro tutorial on the specific methods.