The WordPress Customizer is the WordPress tool that help you customize your site appearance, regardless of the theme you use. You can use it to change the colours, fonts, position of objects, social media integrations and other elements of your site.
But what if you spent a lot of time customizing one site and then decided to move it to another web-host, or restore it from a backup, or if you want to apply the same customizations on another site that you own.
In this post, I’m going to go over how to set up WordPress to use import and export for Customizer settings.
IMPORTANT. Before using this plugin, backup your site and the site you want to apply the settings to. There are many backup plugins. I recommend UpdraftPlus, the free version. Not only you can do an instant backup of your site, your database and your settings, but you can schedule a backup on a Cloud service of your choice. All my sites are backed up daily on my Google Drive.
Using the Customizer Export/Import Plugin
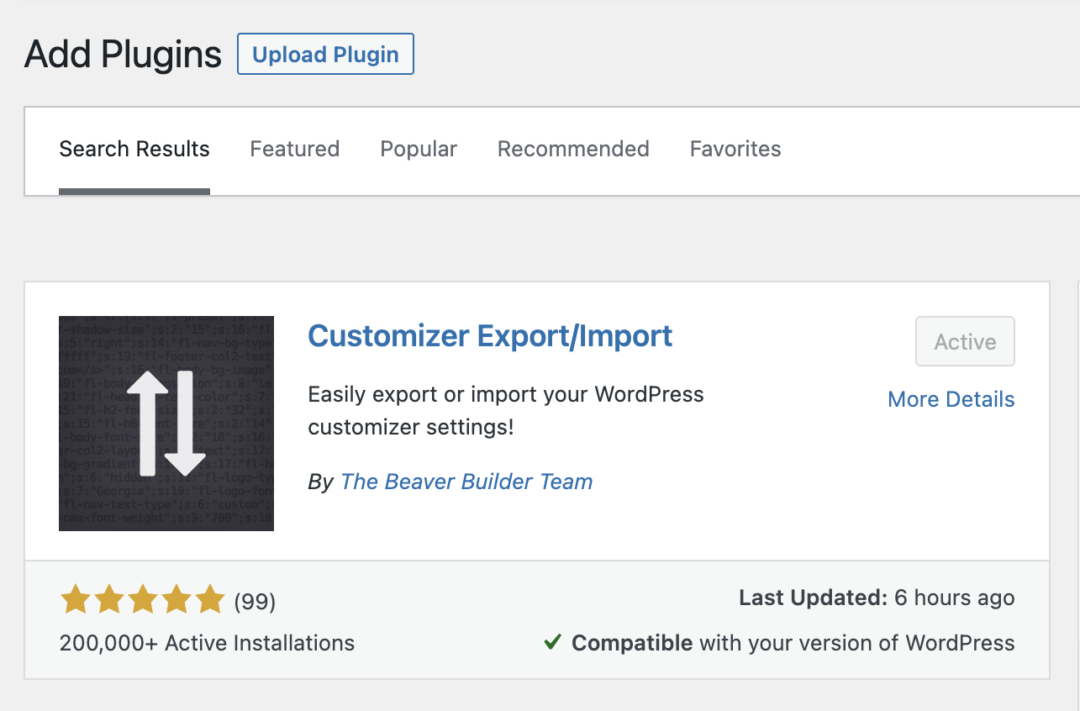
This may not be the only plugin that does this, but it doesn’t get any simpler than this. I love this plugin for it’ s simplicity and speed. It also has an overwhelmingly large number of positive reviews from other WordPress users.
Step 1. Install and activate the “Customizer Export/Import” plugin in WordPress.
This will add a new function strictly for the Customizer in the Admin dashboard. It has no settings to adjust and does not create a link in the left column like other plugins.
Step 2. Go to the Appearance area and click, “Customize.”

You will now see the layout of your site as it is live. Scroll down the left hand side and find, “Export/Import.” It should be the last thing in your list of features regardless of what theme you use.
Step 3. Click the “Export” button when you’re ready to save your settings.
The save file dialog window will open asking where you want to store it. If you don’t see a dialog window, your browser may automatically save the file in your computer’s “Download” folder.
Give the file a name and click, “Save.” For this example, I’m going to save the file to desktop so I can find it easier for later.
NOTE: This will not export actual site information. Elements like your site title, description, widgets and content will not be saved in this manner. However, options that are changeable in the Customizer will be stored.
Just make sure you change your title and description from the WordPress settings before importing the data to a new website.
Step 4. When you’re ready to restore a WordPress theme from the Customizer, click the “Choose File” button in Export/Import.
Find your file and add it to the Customizer. This can be done by either double clicking it or hitting the “Open” button on the bottom right after selecting the file.
Click the check box to “Download and import image files.” This is important if you want to keep your logo, headers and any other images you have in the theme’s layout in Customizer.
Click the “Import” button.
Your site will revert back to the saved options immediately. Depending on your theme and its changes, you may need to click the “Publish” button for the changes to remain in effect.
Once you’re done, click the “X” in the top left to return to the WordPress dashboard.
